Vue官网找了一圈没找到关于在父组件中使用子组件,生命周期是如何运行的。
先说结论
- 父组件
beforeCreated、created、beforeMount - 子组件
beforeCreated、created、beforeMount、mounted - 父组件
mounted
若使用 props 进行父子组件传值(若只进行自身组件数据进行维护,只会执行自身组件的生命周期函数)
- 父组件
beforeUpdate - 子组件
beforeUpdate、updated - 父组件
updated
销毁阶段
- 父组件
beforeDestory - 子组件
beforeDestory、destoryed - 父组件
destoryed
问题描述
当在父组件中,使用子组件,那么父子组件的生命周期是如何进行的?
Vue生命周期
首先,来回顾下Vue生命周期,以下为官方文档中的生命周期图

这里只列出了结论,没有进行实践,如需详情查看,请点击详解vue生命周期
beforeCreate - created
这两个阶段主要是初始化事件、进行数据检测,但此时还没有 el 选项。
created - beforeMount
首先判断是否有无 el 选项,
- 若有则继续编译
- 若没有
el选项则会停止编译,意味着生命周期结束,直接调用vm.$mount(el)。
紧接着继续判断有无 template 选项,
- 若有则会将
template编译为render函数, - 若无,则会引用外部
html作为模板编译。 - 其中
new Vue中还有一个选项render,以createElement作为参数进行渲染操作。
经过实验,渲染优先级如下
render > template > 外部 html
beforeMount - mounted
给示例对象添加 $el 选项,并替换掉挂载到 dom 对象。
mounted
将页面中的填充位,用数据进行替换。(例如:<div>{{ msg }}</div> 替换后 <div>Hello World</div>)
beforeUpdate - updated
当组件内的 data 属性发生变化时,会执行这两个生命周期(beforeUpdate和 updated),
beforeDestory - destoryed
beforeDestroy钩子函数在实例销毁之前调用。在这一步,实例仍然完全可用。
destroyed钩子函数在Vue 实例销毁后调用。调用后,Vue 实例指示的所有东西都会解绑定,所有的事件监听器会被移除,所有的子实例也会被销毁。
构建代码
回到原题,Vue 父子组件生命周期是如何执行的。
首先需要构建一个父子组件的结构,代码如下,可以在线访问 codesandbox
父组件代码
1 | <template> |
子组件代码
1 | <template> |
首次进入
运行效果,点击页面中 Father 进入组件
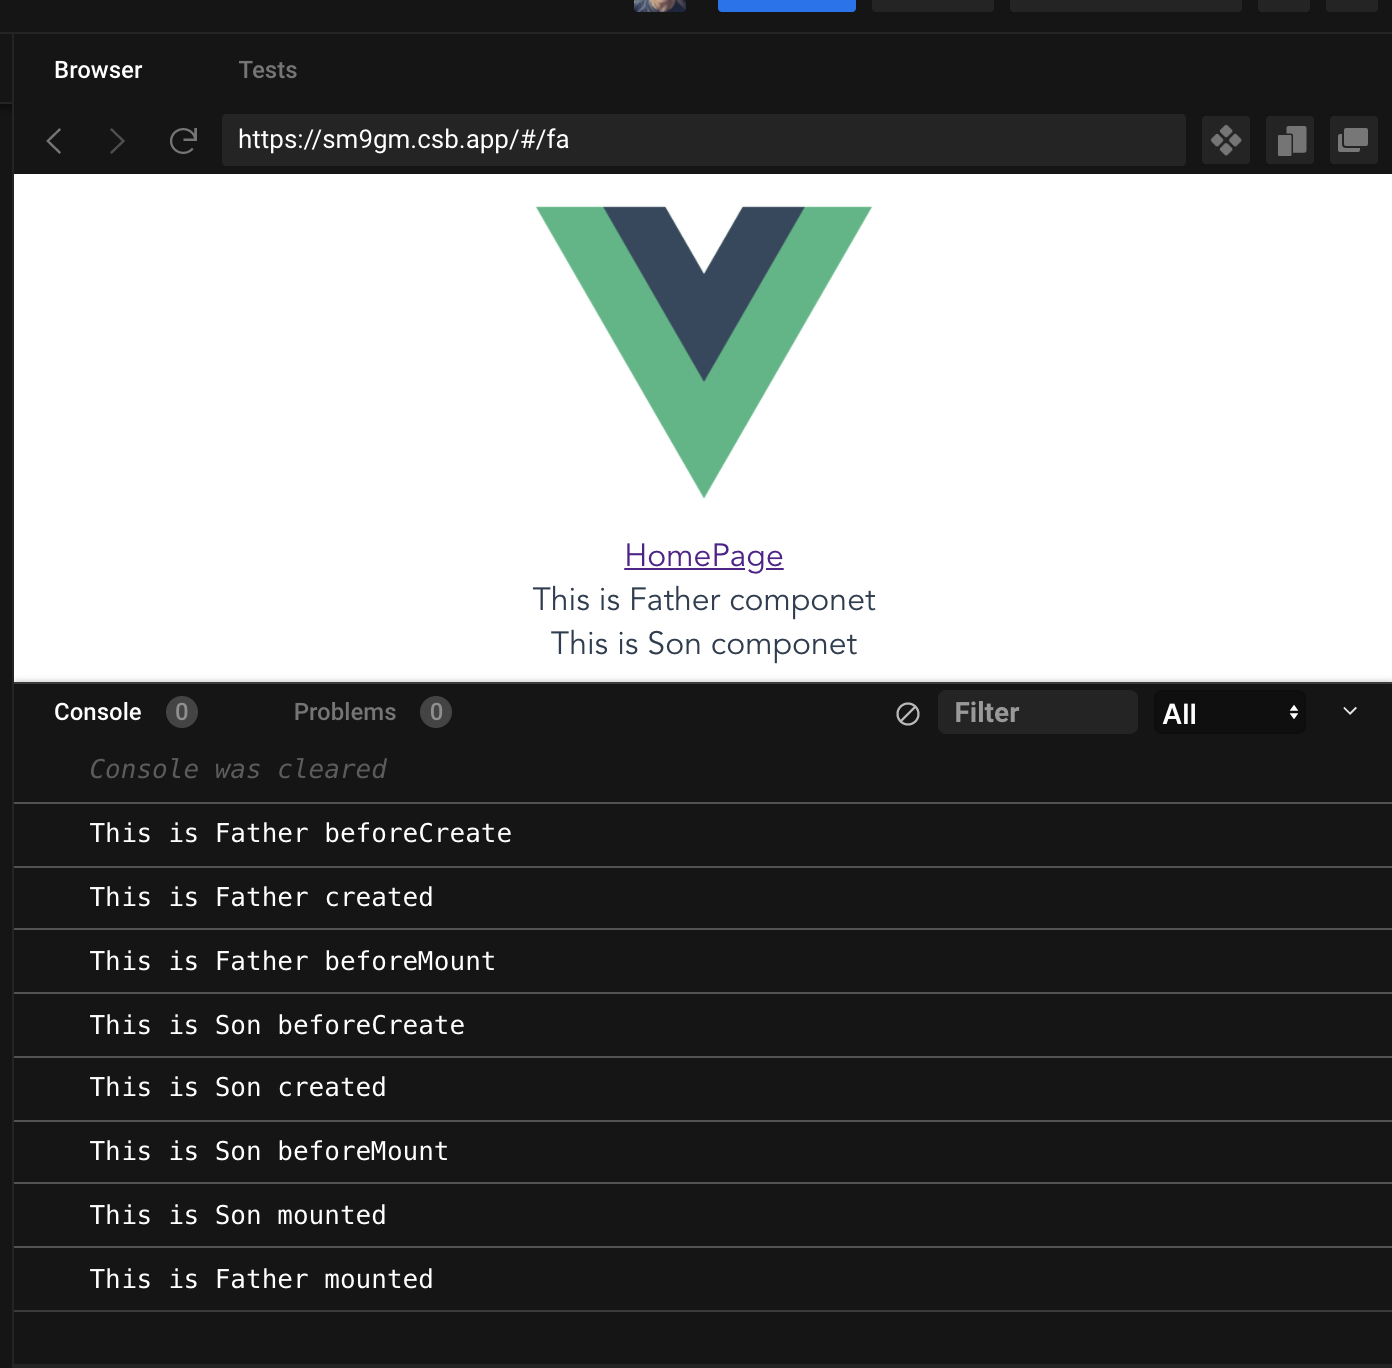
1 | This is Father beforeCreate |
可以看出首先进入
- 父组件
beforeCreated、created、beforeMount - 子组件
beforeCreated、created、beforeMount、mounted - 父组件
mounted
其实这个也不难理解,刚开始没经过思考的我,认为是先执行完父组件生命周期,才会执行子组件生命周期。再次翻看官方文档之后,理解 vue 设计思路和一些理念,就可以理解生命周期为什么这么执行了。
在进入父组件时候,首先肯定需要进行初始化事件、数据,然后进入挂载的阶段,当在挂载过程中,又发现子组件,自然而然的需要先把子组件挂载上去才可以继续进行父组件的生命周期,于是就形成了上面的这种景象。
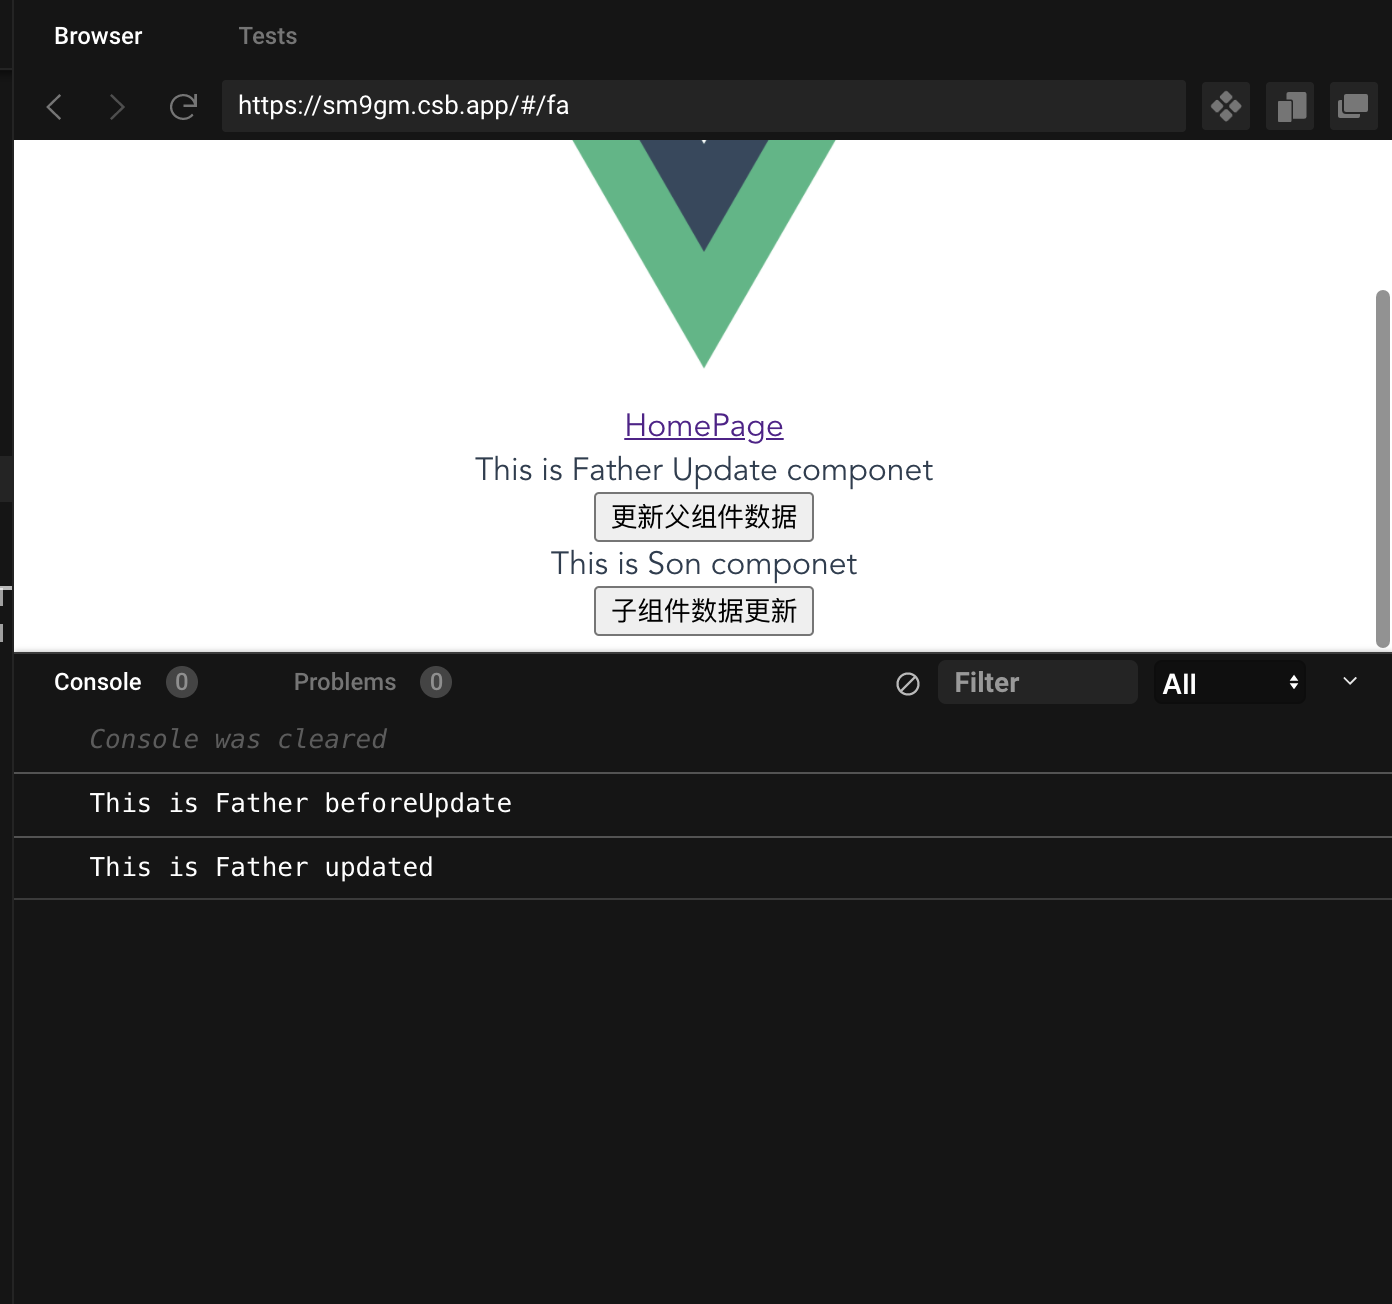
数据更新阶段
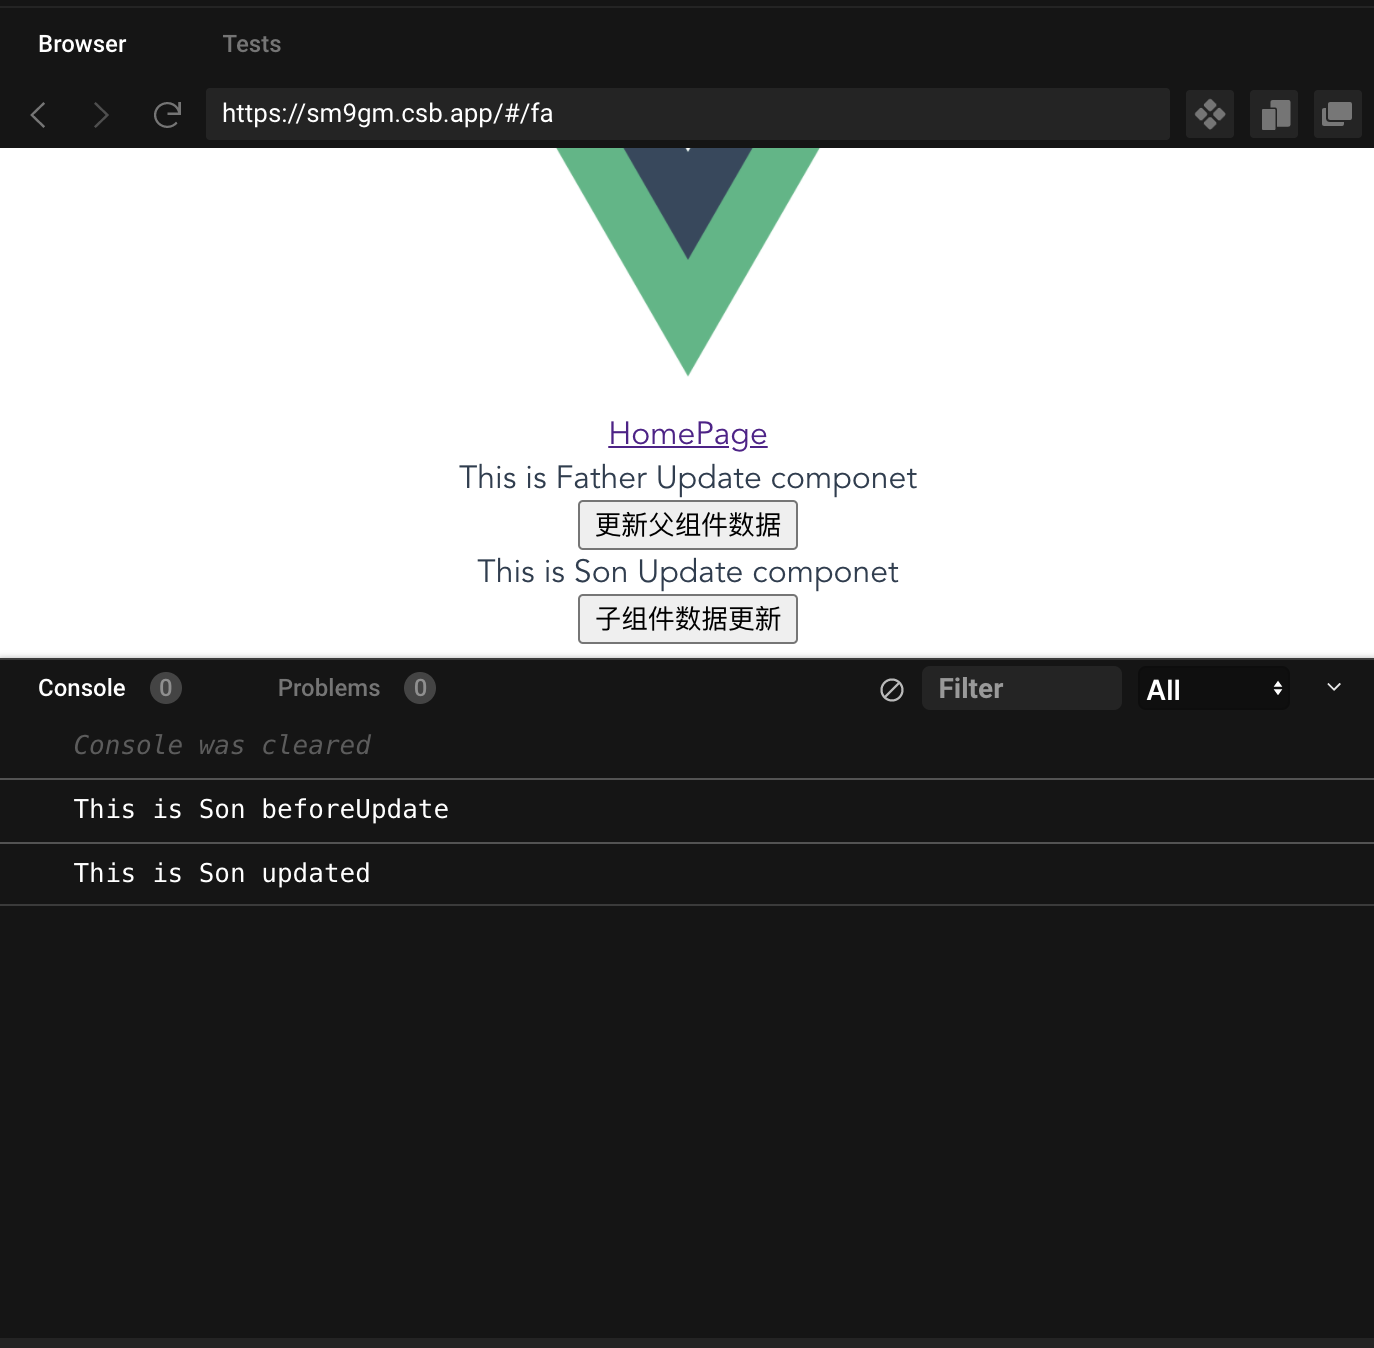
点击更新子组件数据,就会看到只会在自己组件的更新周期函数
此时,父子组件各自维护自己的 data 值,并没有进行父组件传值操作。
更新父组件 data 值后,并不会影响到子组件的 beforeUpdate、updated
子组件更新自身数据也是一样
那么如果使用 props传递到子组件中,那么生命周期又会如何执行。
点击更新父组件data 数据,此时父组件的数据已经通过 props 形式传入子组件
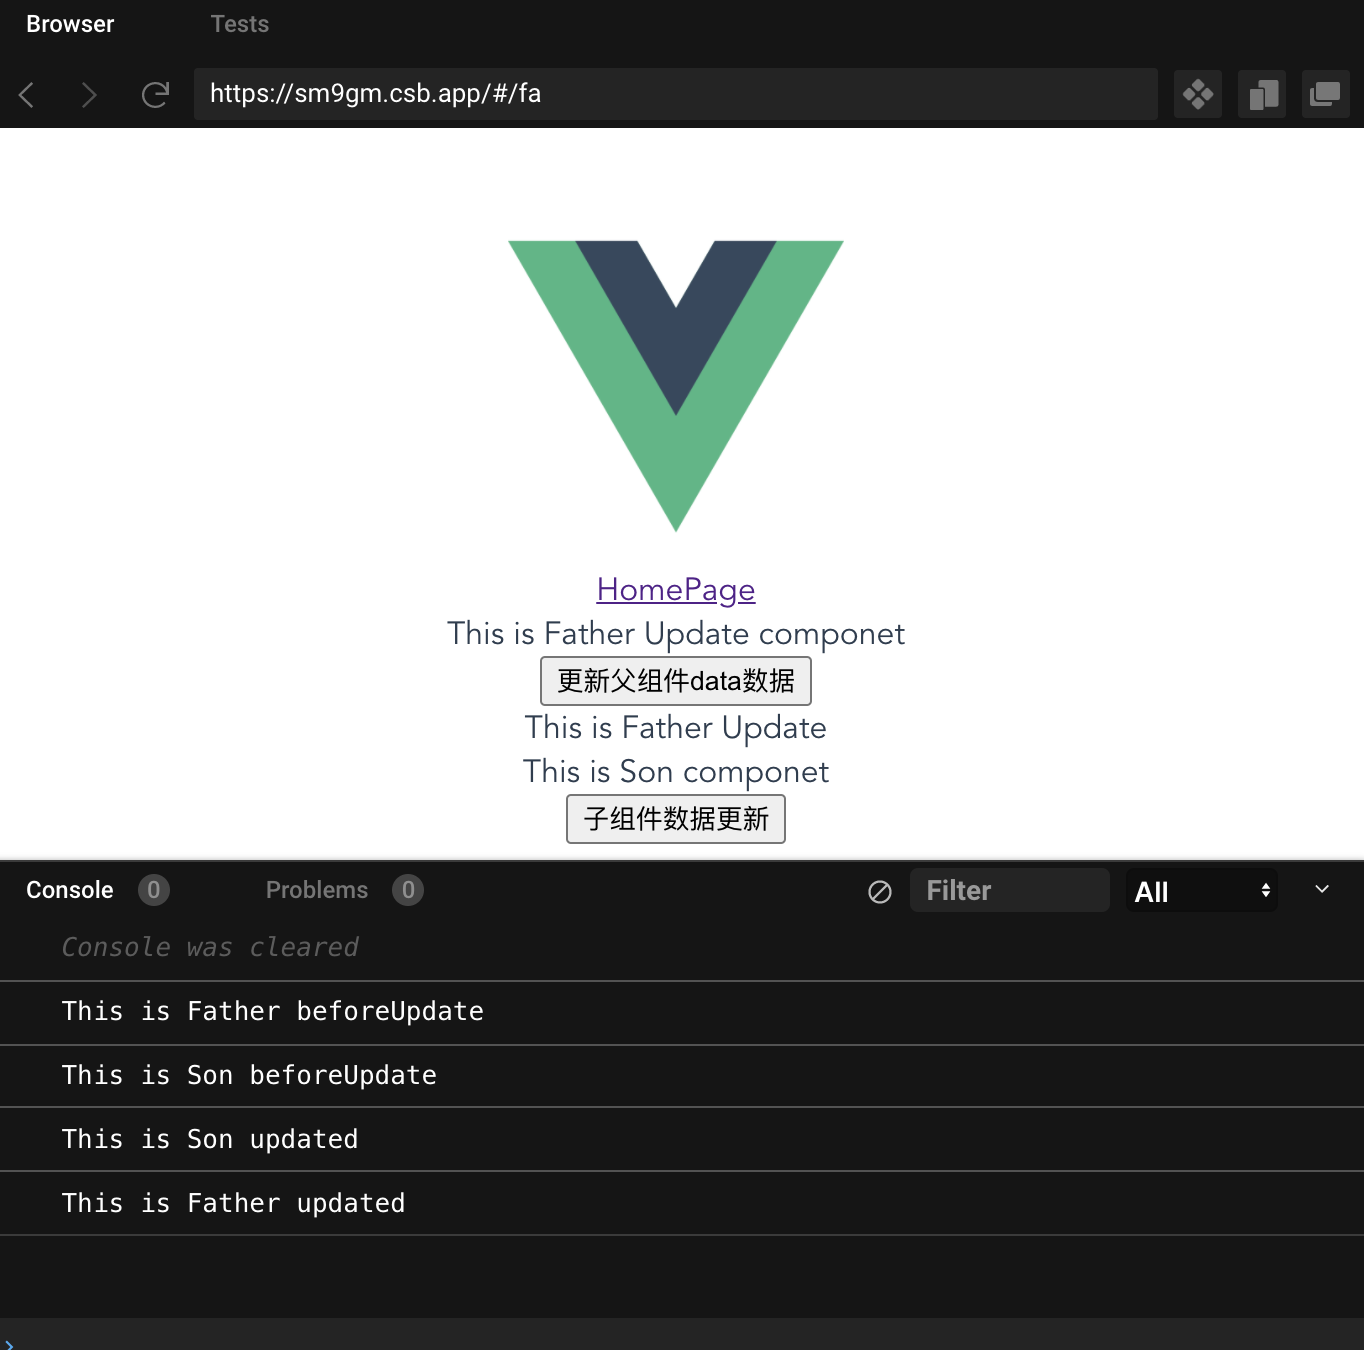
不出所料,生命周期函数
- 父组件
beforeUpdate - 子组件
beforeUpdate、updated - 父组件
updated
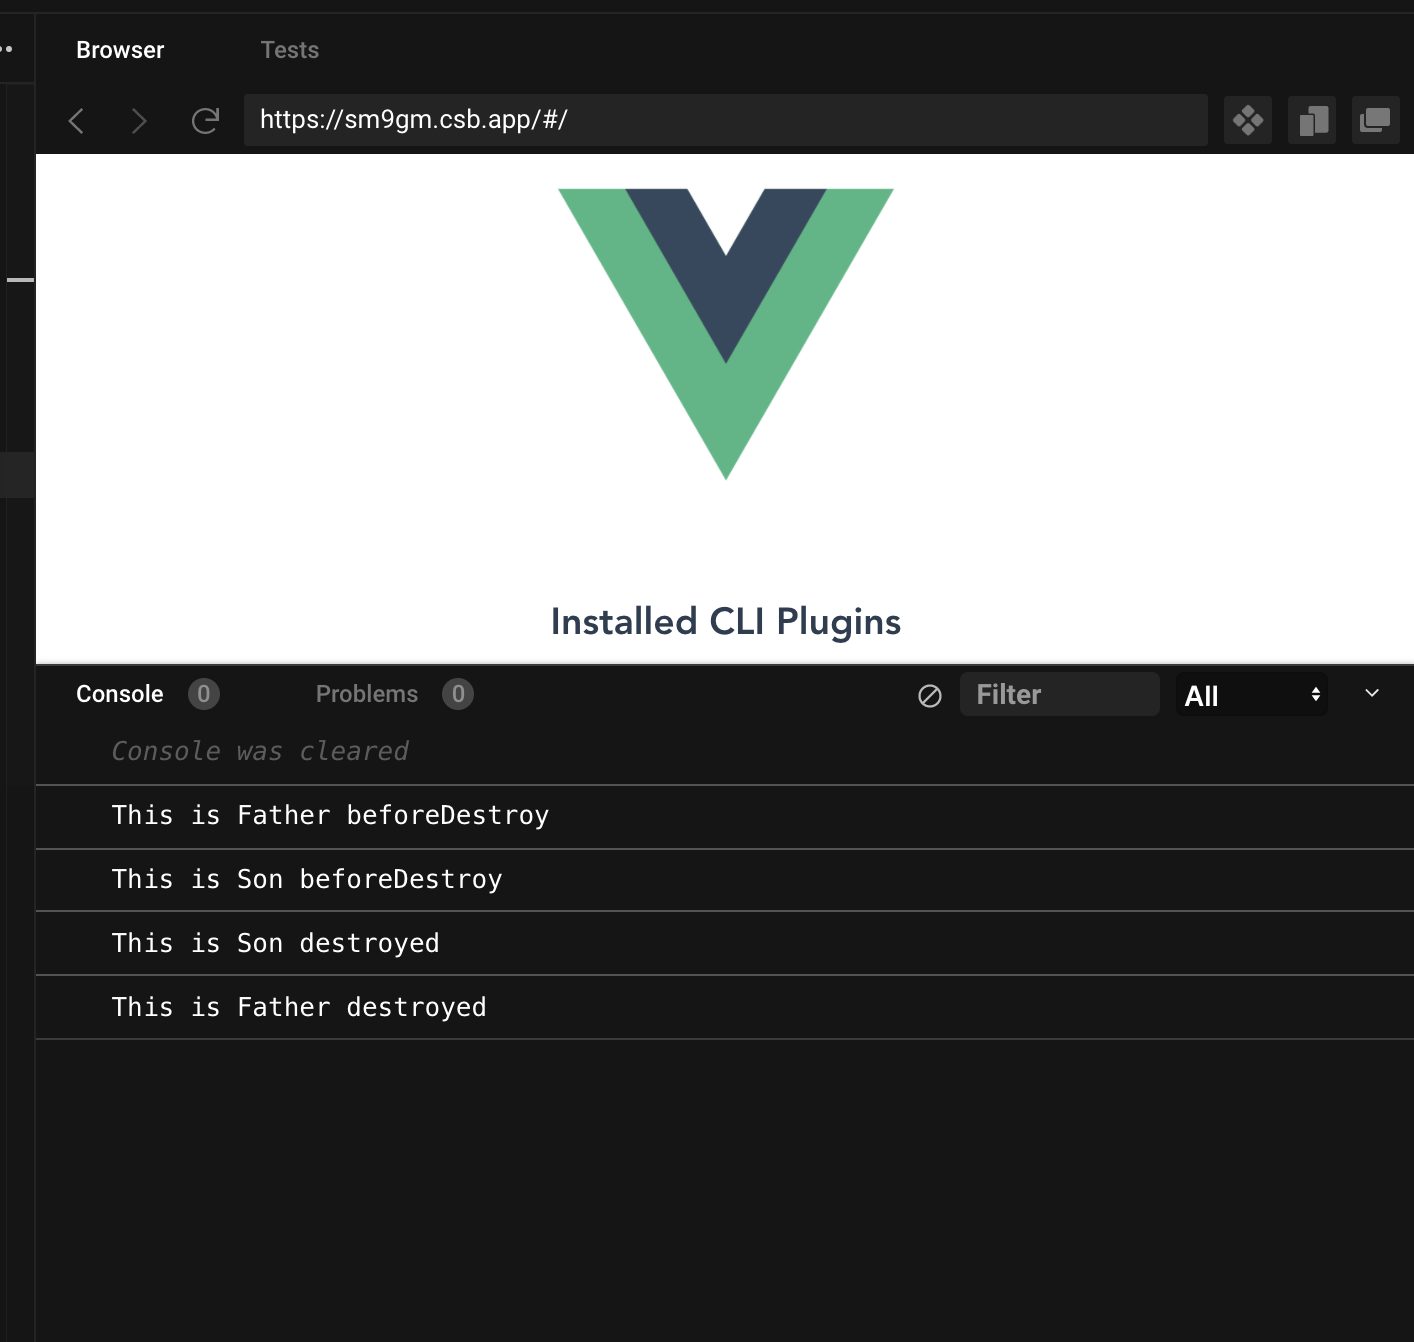
销毁阶段
点击页面中的 HomePage 返回主页,就会触发销毁阶段。
其实也是一样的思路,就还没做实验,盲猜都应该是
- 父组件
beforeDestory - 子组件
beforeDestory、destoryed - 父组件
destoryed
经过试验证明后,也确实是这样